
Students
The Students section allows you to manage all student records, including enrollment, profile information, class assignments, and parent linking.
Accessing Students
- Click Students in the sidebar navigation
- View the student list
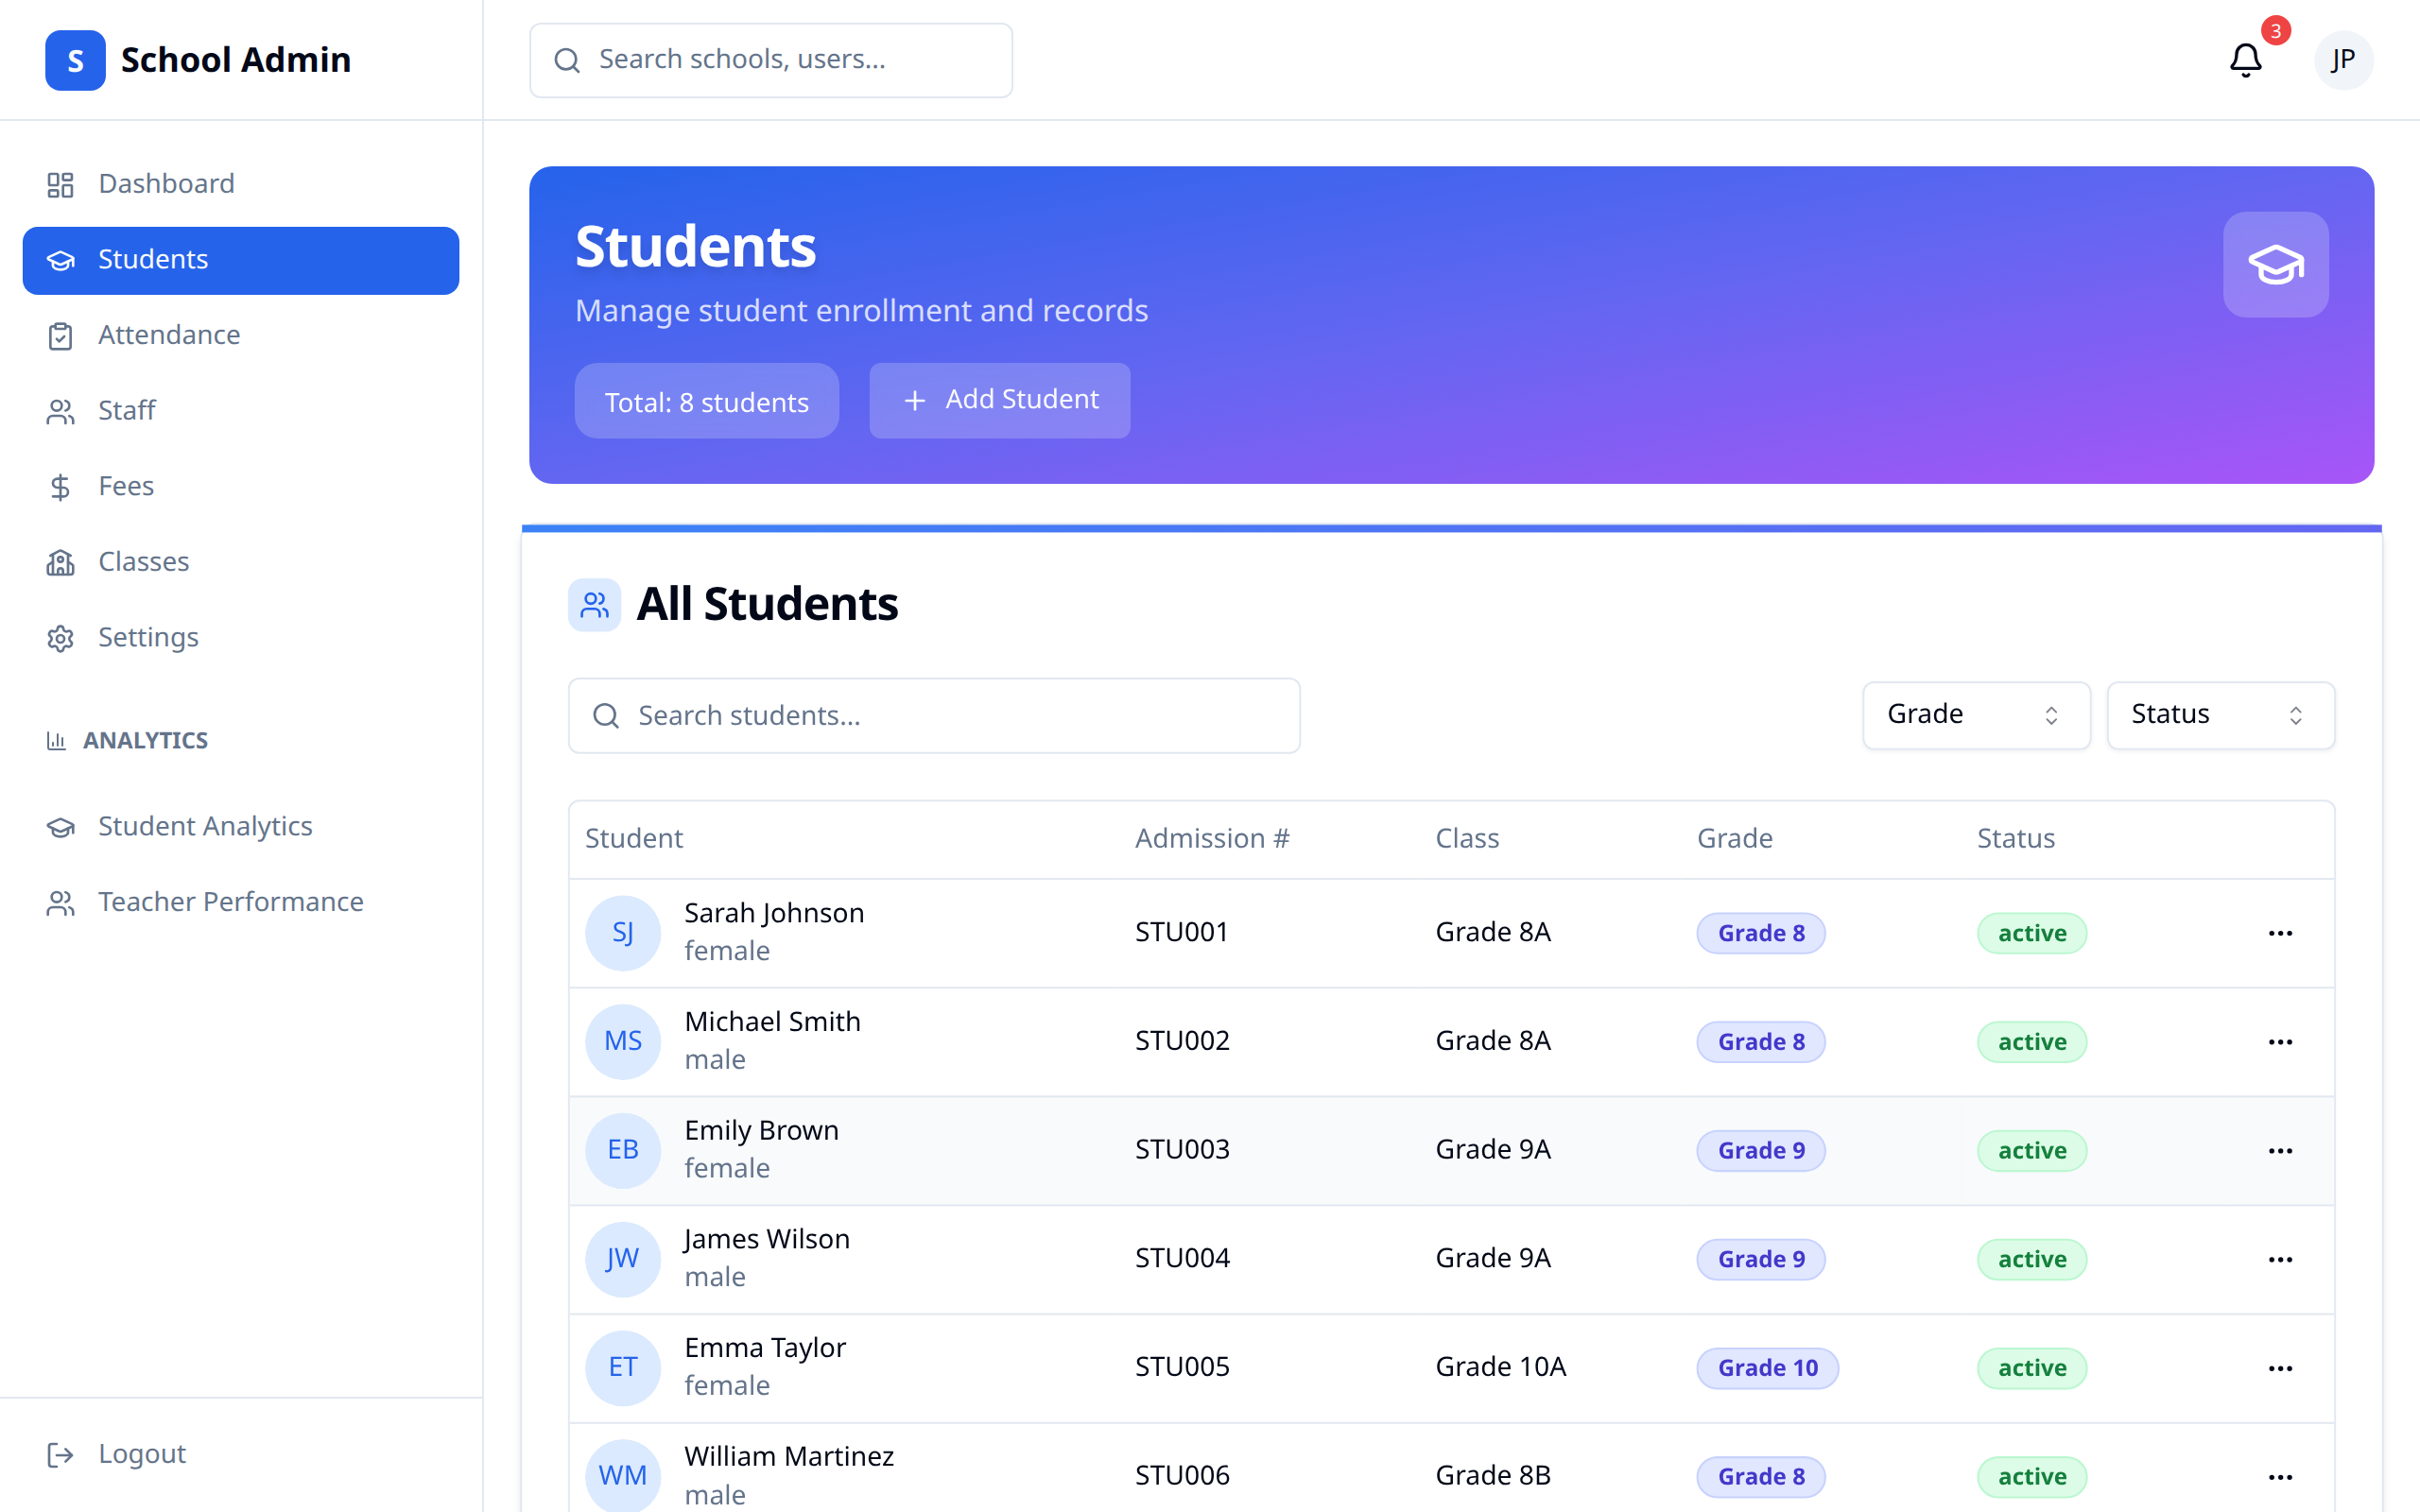
Student List
Overview
The All Students table shows one row per student:
| Column | Contents |
|---|---|
| Student | Initials, full name, and gender |
| Admission # | The student's admission number |
| Class | The class they're assigned to |
| Grade | The grade level of that class, or "Unassigned" |
| Status | Active, inactive, graduated or transferred |
The header above the table shows the total student count.
Filtering
Two dropdowns sit above the table:
- Class - All Classes, or one of your classes
- Status - All Status, Active, Inactive, Graduated, Transferred
Searching
Type in the Search students... box to filter by name or admission number.
Paging
When there are more students than fit on one page, Previous and Next buttons appear under the table with a "Showing x to y of z students" summary.
Adding Students
New Student Enrollment
- Click Add Student
- Work through the three steps
- Click Enroll Student on the last step
The form is a three-step wizard with a progress bar: Personal Info, Academic, then Guardian.
Step 1 — Personal Information
| Field | Required | Description |
|---|---|---|
| First Name | Yes | Student's first name |
| Last Name | Yes | Student's last name |
| Date of Birth | Yes | Birth date |
| Gender | Yes | Male, Female or Other |
| Address | No | Home address |
| Medical Information | No | Any allergies, conditions, or special needs |
Step 2 — Academic Details
| Field | Required | Description |
|---|---|---|
| Admission Number | Yes | Your school's admission number for the student |
| Enrollment Date | Yes | Defaults to today |
| Class | Yes | Pick from your existing classes |
TIP
You need at least one class before you can enroll a student. Create classes first on the Classes page.
Step 3 — Guardian Information
| Field | Description |
|---|---|
| First Name | Guardian's first name |
| Last Name | Guardian's last name |
| Guardian's email | |
| Phone | Guardian's contact number |
| Relationship | Father, Mother, Guardian or Other |
Fill in the guardian's email if you want them invited. When an email is present, the parent is created and linked to the student, and their invite goes out as the record syncs. Leave it blank and the student is saved without a guardian.
Editing Students
Updating Student Information
- Click the student's row, or choose View / Edit from the ⋯ menu
- Update the fields you need
- Click Save Changes
The edit screen has two tabs:
- Personal — First Name, Last Name, Date of Birth, Gender
- Academic — Admission Number, Enrollment Date, Class, Status
Save Changes stays disabled until you actually change something.
Class Transfers
To move a student to a different class:
- Open the student
- Go to the Academic tab
- Pick the new Class
- Click Save Changes
Student Status
Status shown in the list
| Status | Description |
|---|---|
| Active | Currently enrolled |
| Inactive | No longer attending |
| Graduated | Completed schooling |
| Transferred | Moved to another school |
Changing Status
On the Academic tab of the edit screen, the Status dropdown offers Active and Inactive. Set a student to Inactive when they leave, then Save Changes.
:::note Status changes affect where the student appears in lists and reports. :::
Deleting a Student
From the ⋯ menu on a row, or the Delete Student button on the edit screen, choose Delete. You'll be asked to confirm — deleting removes the student and any related records, and cannot be undone.
Bulk Import
For a whole roster at once, click Bulk import on the Students page.
TIP
If your school has no classes yet, the import page tells you so and links to Classes → Bulk import instead — every student row needs a matching class name to land in.
- Click Sample CSV to download a file in the right shape
- Fill it in, one row per student. Required columns:
admissionNumber,firstName,lastName,className,dateOfBirth(YYYY-MM-DD),gender. Optional:email,parentEmail,parentFirstName,parentLastName - Click Choose CSV file and pick your file
- Check the preview — it tells you how many rows are ready, and flags any missing columns
- Click Import to finish
className is matched against your existing class names, ignoring capitalisation — so those classes must exist first. Any row with a class name that doesn't match is reported back to you instead of being imported.
Where parentEmail is filled in, that parent gets an invite link and is automatically linked to the student.
Exporting Students
Student data is exported from Analytics → Reports → Students, which produces a full roster with class and contact details as PDF, Excel or CSV. See Analytics.
Best Practices
- Complete profiles - Enter all available information
- Verify data - Double-check before saving
- Link parents - Add a guardian email so parents get access
- Keep updated - Maintain current information
- Regular review - Check for inactive students
- Secure data - Handle information appropriately