
Settings
The Settings section allows you to configure your school's profile, academic calendar and grading, and which notifications go out.
Accessing Settings
- Click Settings in the sidebar navigation
- Pick a tab: General, Academic or Notifications
Each tab saves independently — click Save Changes on the tab you edited.
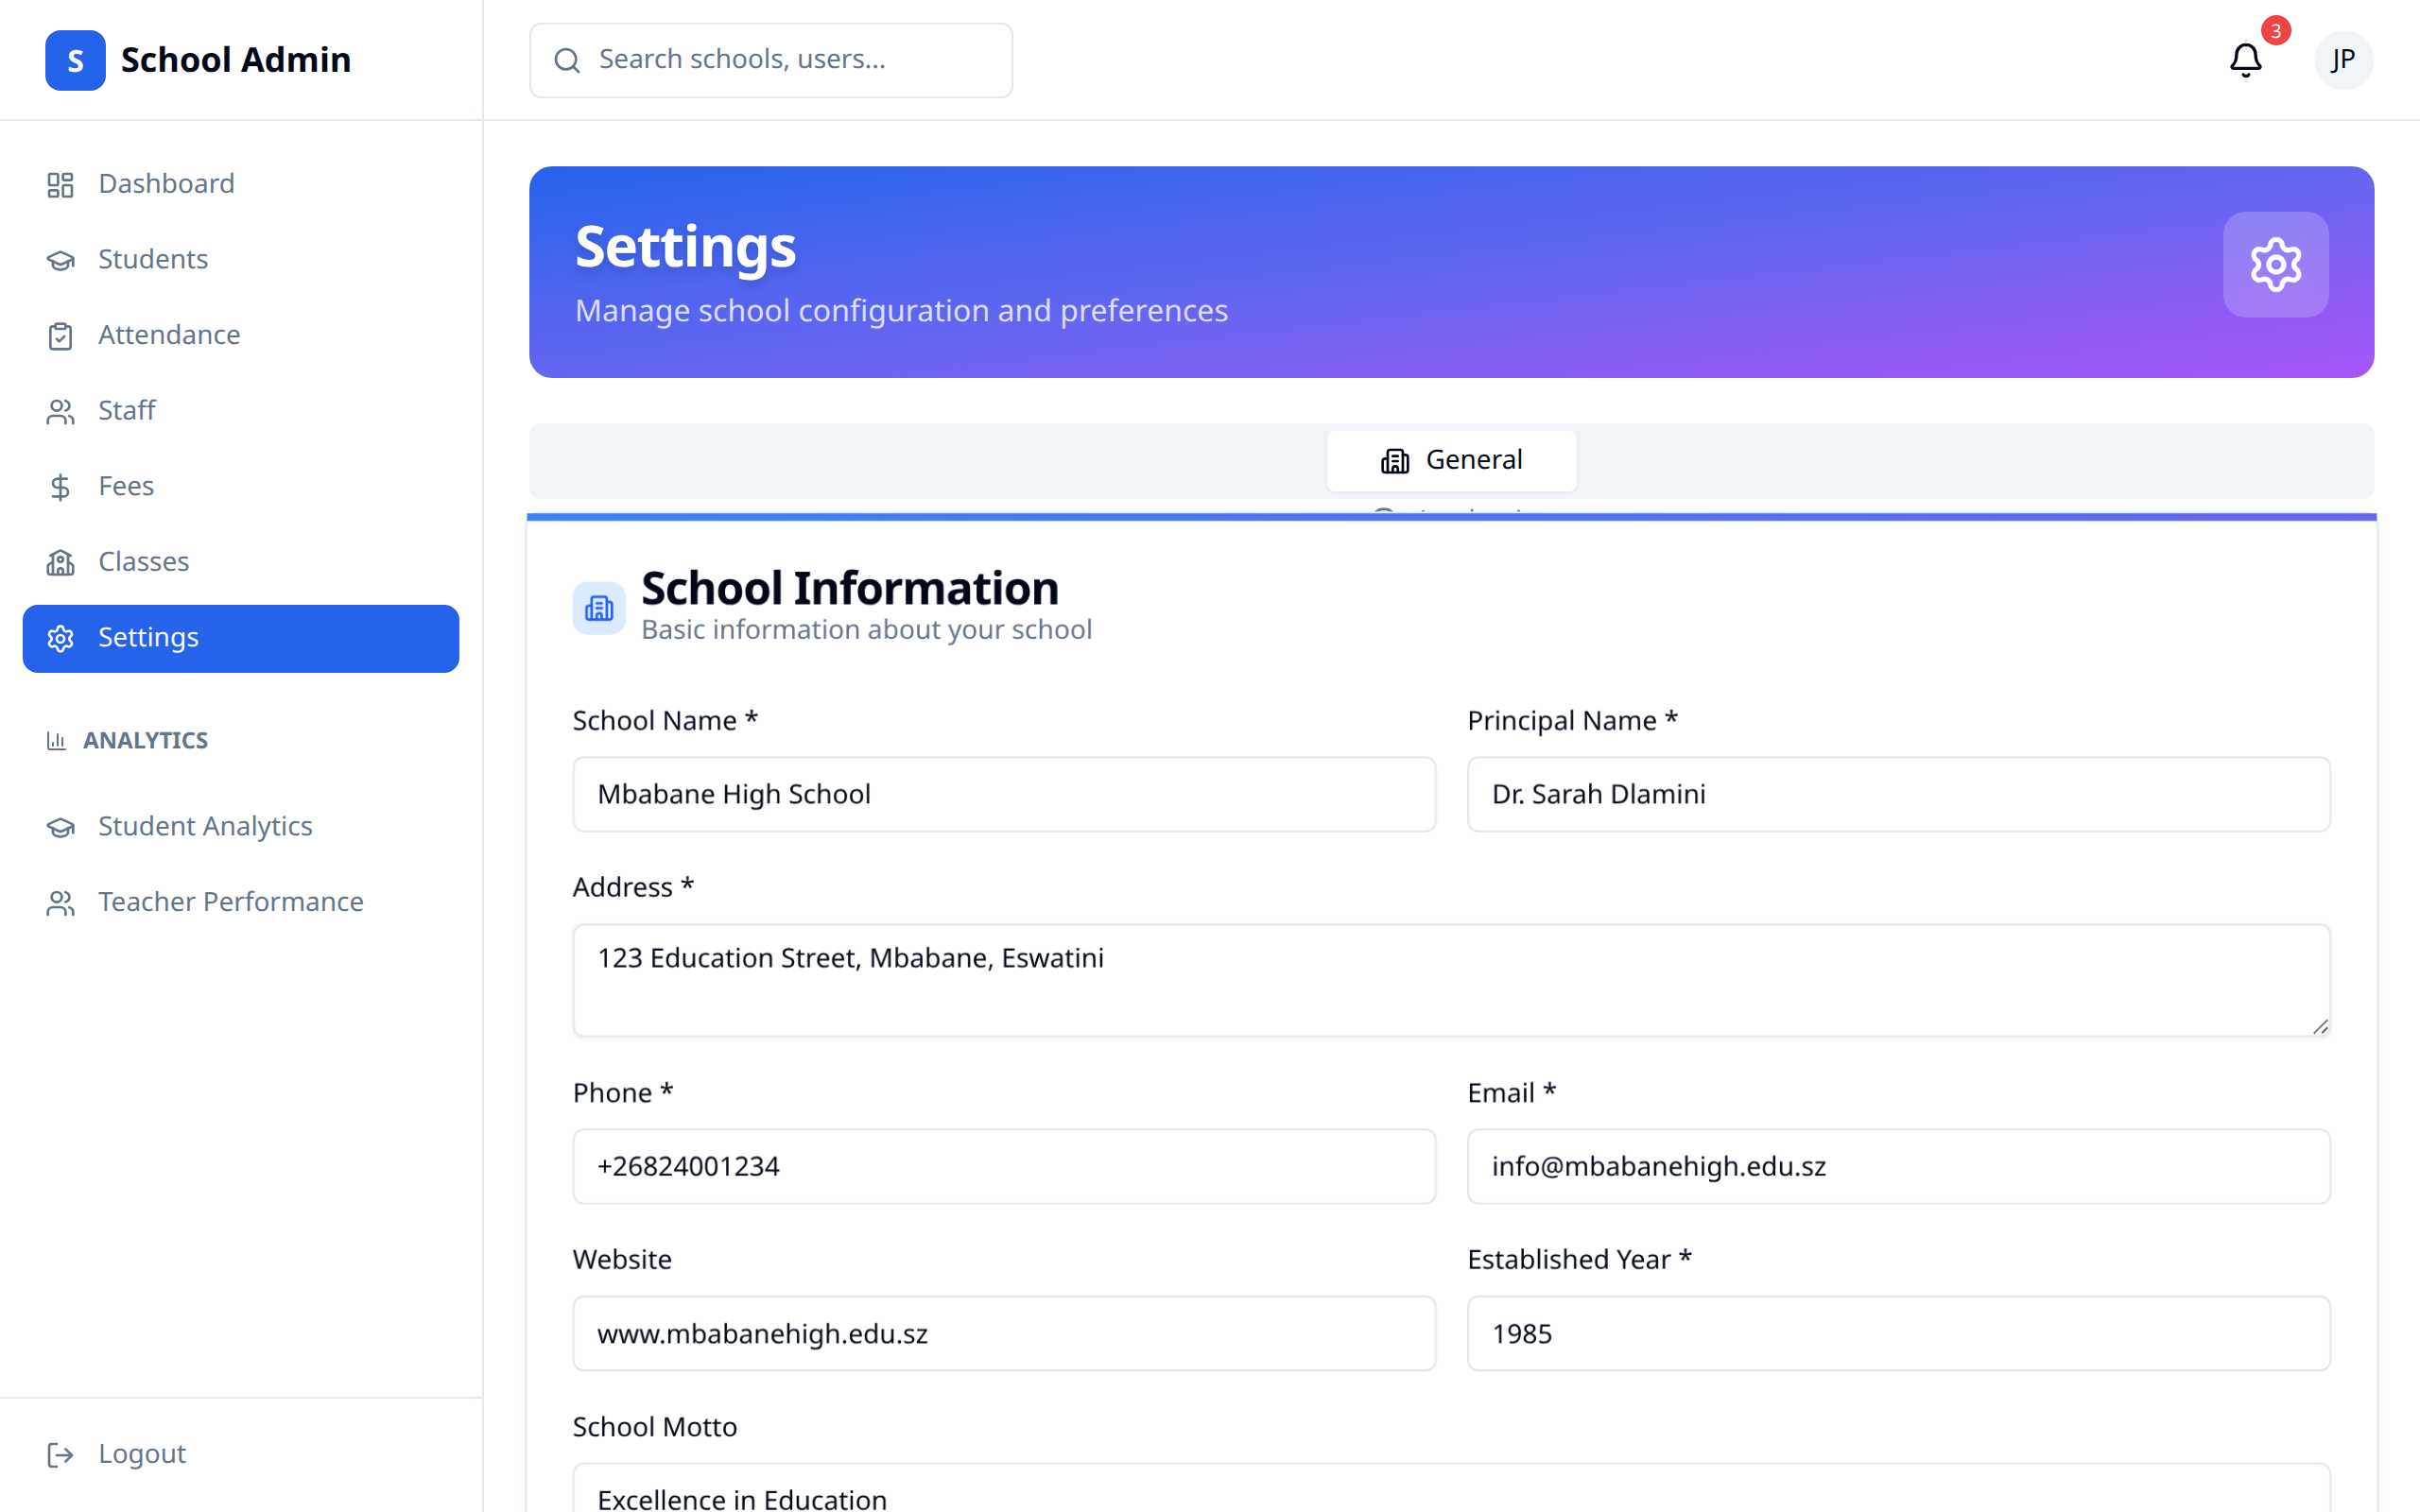
General
School Information
| Field | Required | Description |
|---|---|---|
| School Name | Yes | Official school name |
| Principal Name | Yes | The principal's name |
| Address | Yes | Physical address |
| Phone | Yes | Contact number |
| Yes | School email | |
| Website | No | School website |
| Established Year | Yes | The year the school was founded |
| School Motto | No | Printed alongside the school name |
Brand colour
Brand colour (used on report card accents) takes a hex colour like #1d4ed8, either from the colour picker or typed in. The top stripe, table header and dividers on the report card PDF use this colour.
School logo
Under School logo, click Upload logo (or Replace logo) and pick a PNG, JPG, SVG or WebP file up to 2 MB. It uploads immediately — there's no separate save step. Remove clears it. The logo appears on report cards.
Academic
Academic Year and Terms
| Field | Description |
|---|---|
| Academic Year | Pick from a dropdown of preset years |
| Current Term | Pick from your existing terms, or type a name if you have none yet |
| Calendar grain | Term, Semester, Quarter or Trimester |
| Start Date | When the term begins |
| Term End Date | When the term ends |
Picking an existing term fills its start date, end date and calendar grain for you. Saving updates the academic year and creates or updates that term.
WARNING
The start and end dates matter beyond the calendar: report card attendance only counts days inside the term window. Wrong dates mean wrong attendance on the printed card.
Grading
| Field | Description |
|---|---|
| Grading scale | Your school's grades and the minimum percentage each one needs. Add grade adds a row; the trash icon removes one. Rename any grade — A–F, A*–U, 1–7, Distinction / Merit / Pass, or anything else |
| Pass Mark (%) | The overall average at which a learner passes on the mark schedule, a whole number from 0 to 100 |
The Grading scale is what the report card prints next to each subject's percentage. Each grade label can be up to 8 characters and must be unique, and each minimum is a whole number from 0 to 100. You always need at least one row — the trash icon is disabled on the last remaining grade — and the lowest grade must start at 0, so every score maps to a grade. Save sorts the rows from highest minimum to lowest. Pass Mark is separate — it sets the overall pass/fail line, not the per-subject letters.
Notifications
Five toggles, each on or off:
| Toggle | What it controls |
|---|---|
| Email Alerts | Receive important updates via email |
| SMS Alerts | Receive urgent alerts via SMS |
| Attendance Alerts | Get notified about attendance issues |
| Fee Reminders | Receive reminders about pending fees |
| Parent Notifications | Send automated notifications to parents |
Click Save Changes after flipping them.
TIP
A school that hasn't touched this tab yet starts with Email Alerts, Attendance Alerts, Fee Reminders and Parent Notifications on, and SMS Alerts off.
Where Other Settings Live
Some things people look for under Settings are managed elsewhere:
| What | Where |
|---|---|
| Subjects | Subjects in the sidebar |
| Classes and capacity | Classes in the sidebar |
| Class timetables | Timetable in the sidebar |
| Which teacher takes which subject | Open a class → Subjects & teachers |
| Staff roles and access | Staff in the sidebar |
| Releasing report cards to families | Reports → Report Cards |
Best Practices
- Configure thoroughly - Fill in every field on the General tab; report cards use most of them
- Set term dates before the term starts - attendance on report cards depends on them
- Review periodically - Check settings each term
- Upload the logo early - it appears on every printed report card
- Save per tab - each tab has its own Save Changes button
WARNING
Settings changes can affect the entire school. Review carefully before saving, especially the academic year, term dates and grading.