
Set up your school for the first term
Set up the academic structure before teachers begin recording marks. This walkthrough gives you the order and the checks that prevent missing rosters and empty report cards.
Before you start
You need an activated school-admin account, the school calendar, your grading scale, and the class and staff lists you are authorised to manage. Use your school's administrator portal. For a no-save preview, open the school-admin demo.
The public demo uses synthetic school records. Screenshots illustrate the controls and sample states; they do not show a newly configured real school.
1. Confirm the school and the starting state
Sign in and check the school/account context. The dashboard summarises students, staff, attendance, classes and report-card readiness.
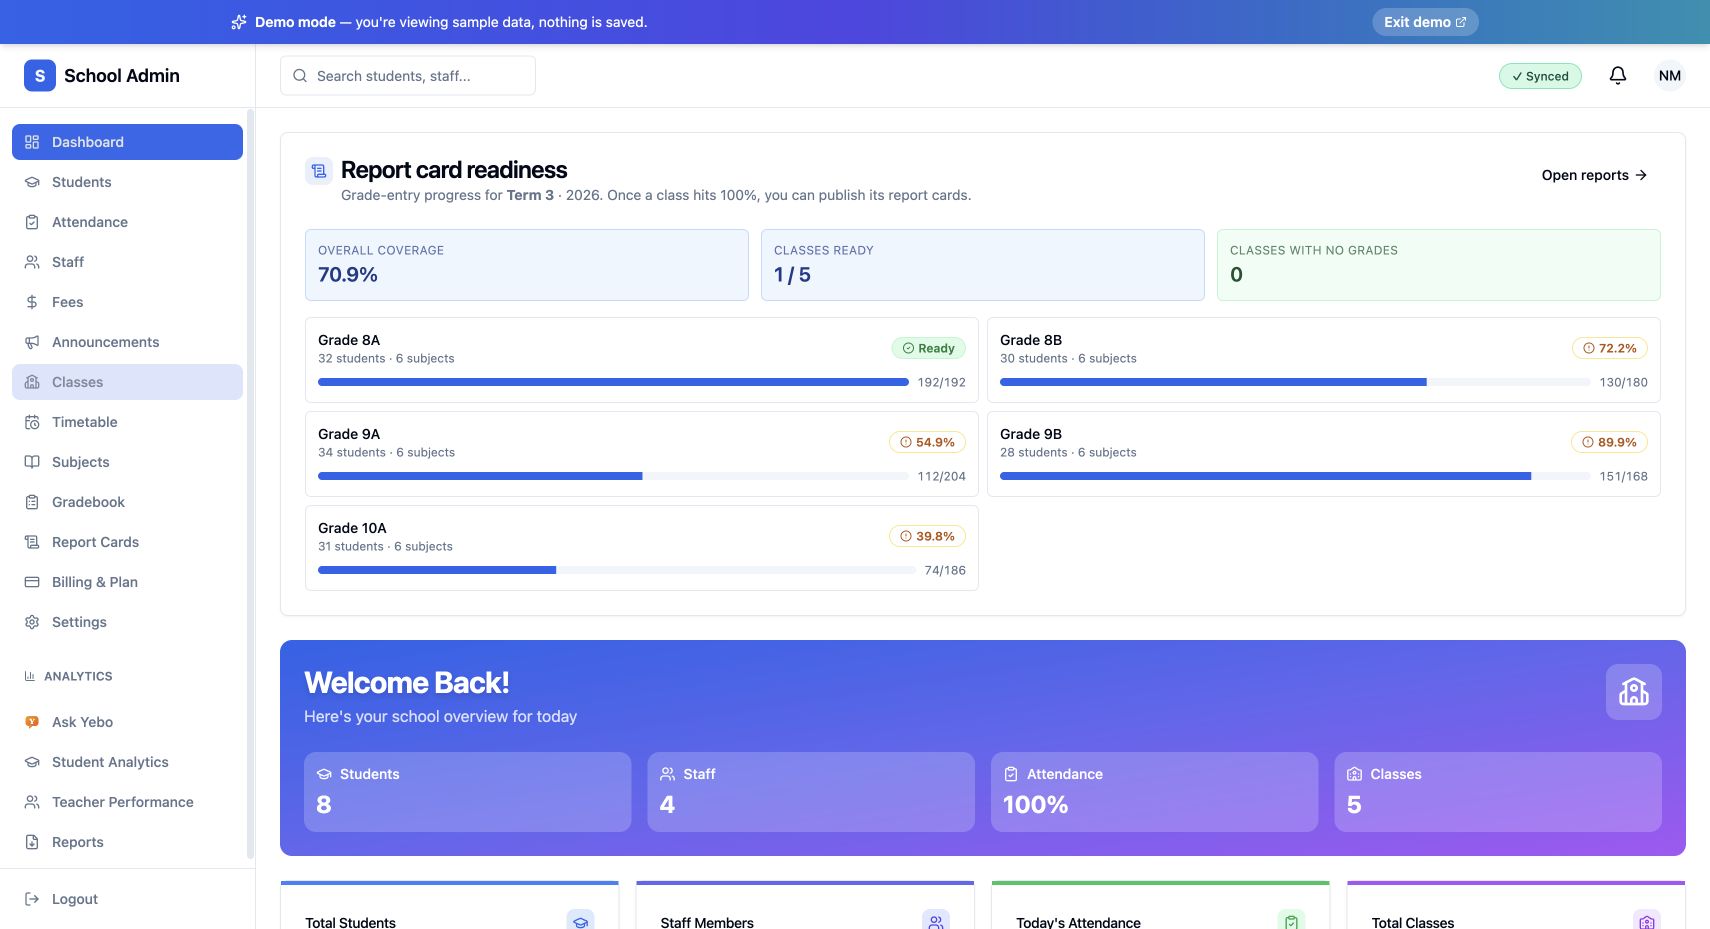
Actual YeboLearn interface, captured in the public demo on 24 October 2026. Names, marks and balances are sample data. Select the image to view full size.
Treat the totals as a summary, then inspect the underlying records as you configure the school. A readiness percentage measures grade-entry coverage; it does not mean report cards were released.
2. Set the academic calendar and grading rules
Open Settings → Academic.
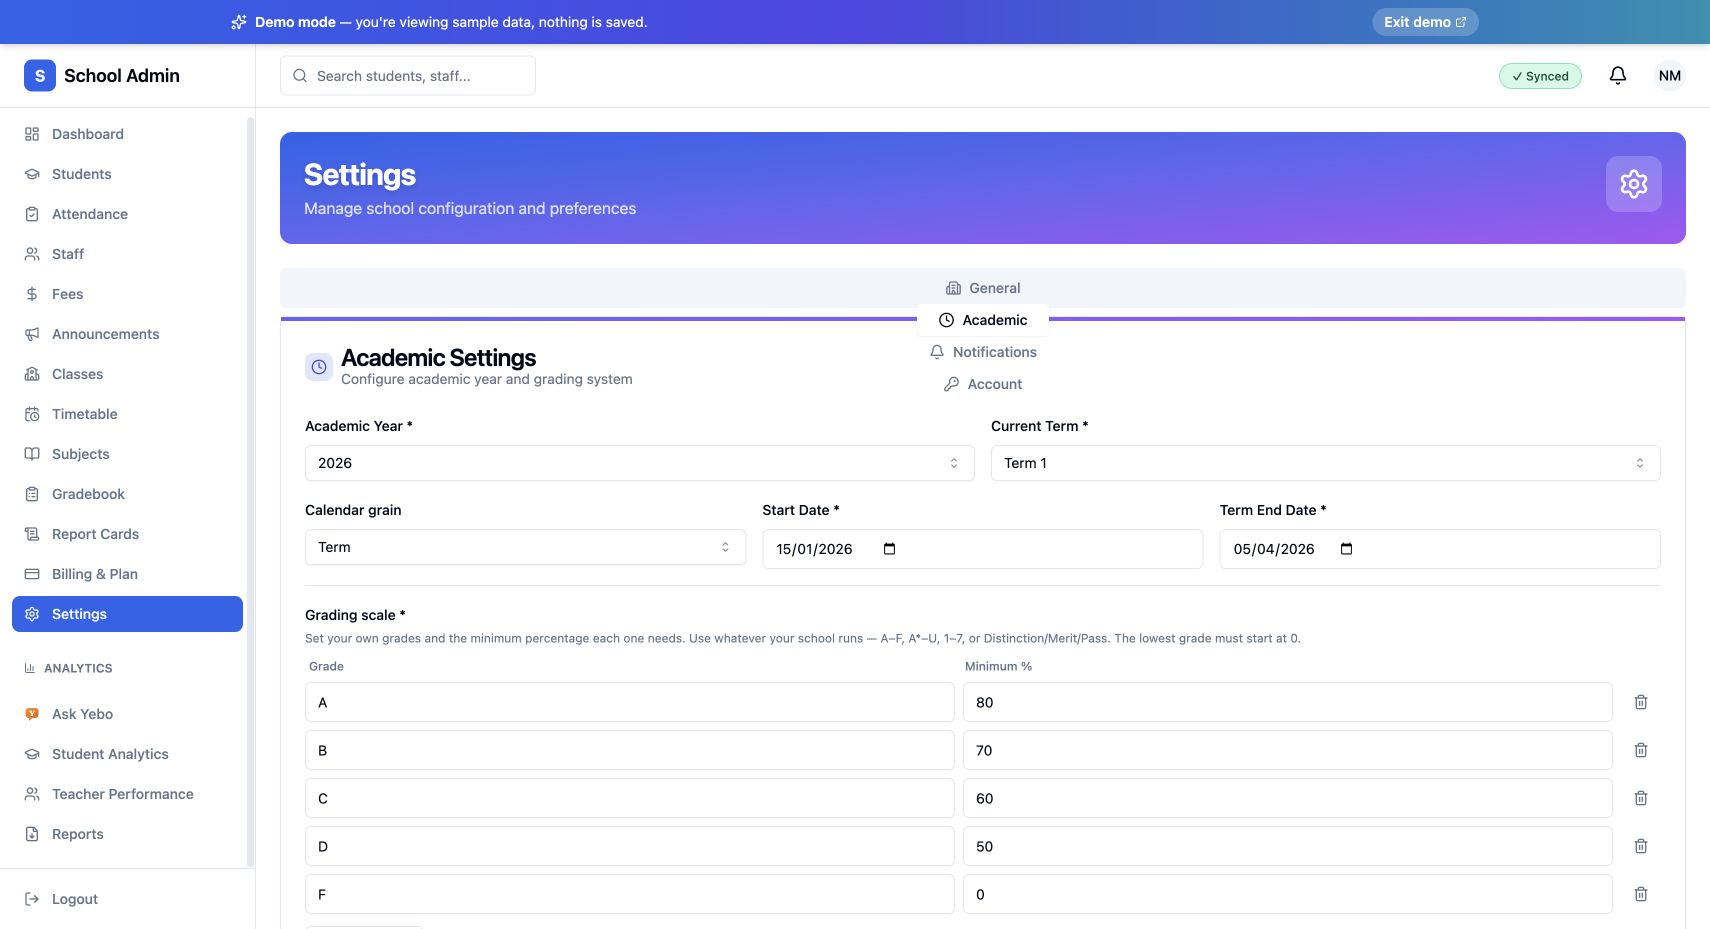
Actual YeboLearn interface, captured in the public demo on 24 October 2026. Names, marks and balances are sample data. Select the image to view full size.
- Select the Academic Year and Current Term.
- Choose the Calendar grain your school uses: term, semester, quarter or trimester.
- Enter the correct Start Date and Term End Date.
- Check every Grade label and its Minimum %. The lowest threshold must be 0 so every score has a grade.
- Set Pass Mark (%) separately from the grade thresholds.
- Review the entries and select Save Changes. Wait for confirmation, then reopen the tab to check the saved values.
Dates affect which attendance records are included in a term's report card. Teachers must record assessments against this same year and term. If saving fails, keep the error visible and correct it before asking teachers to proceed. See Settings.
3. Create the classes and subject structure
Open Subjects to establish the subjects taught, then Classes to check the class list and capacity.
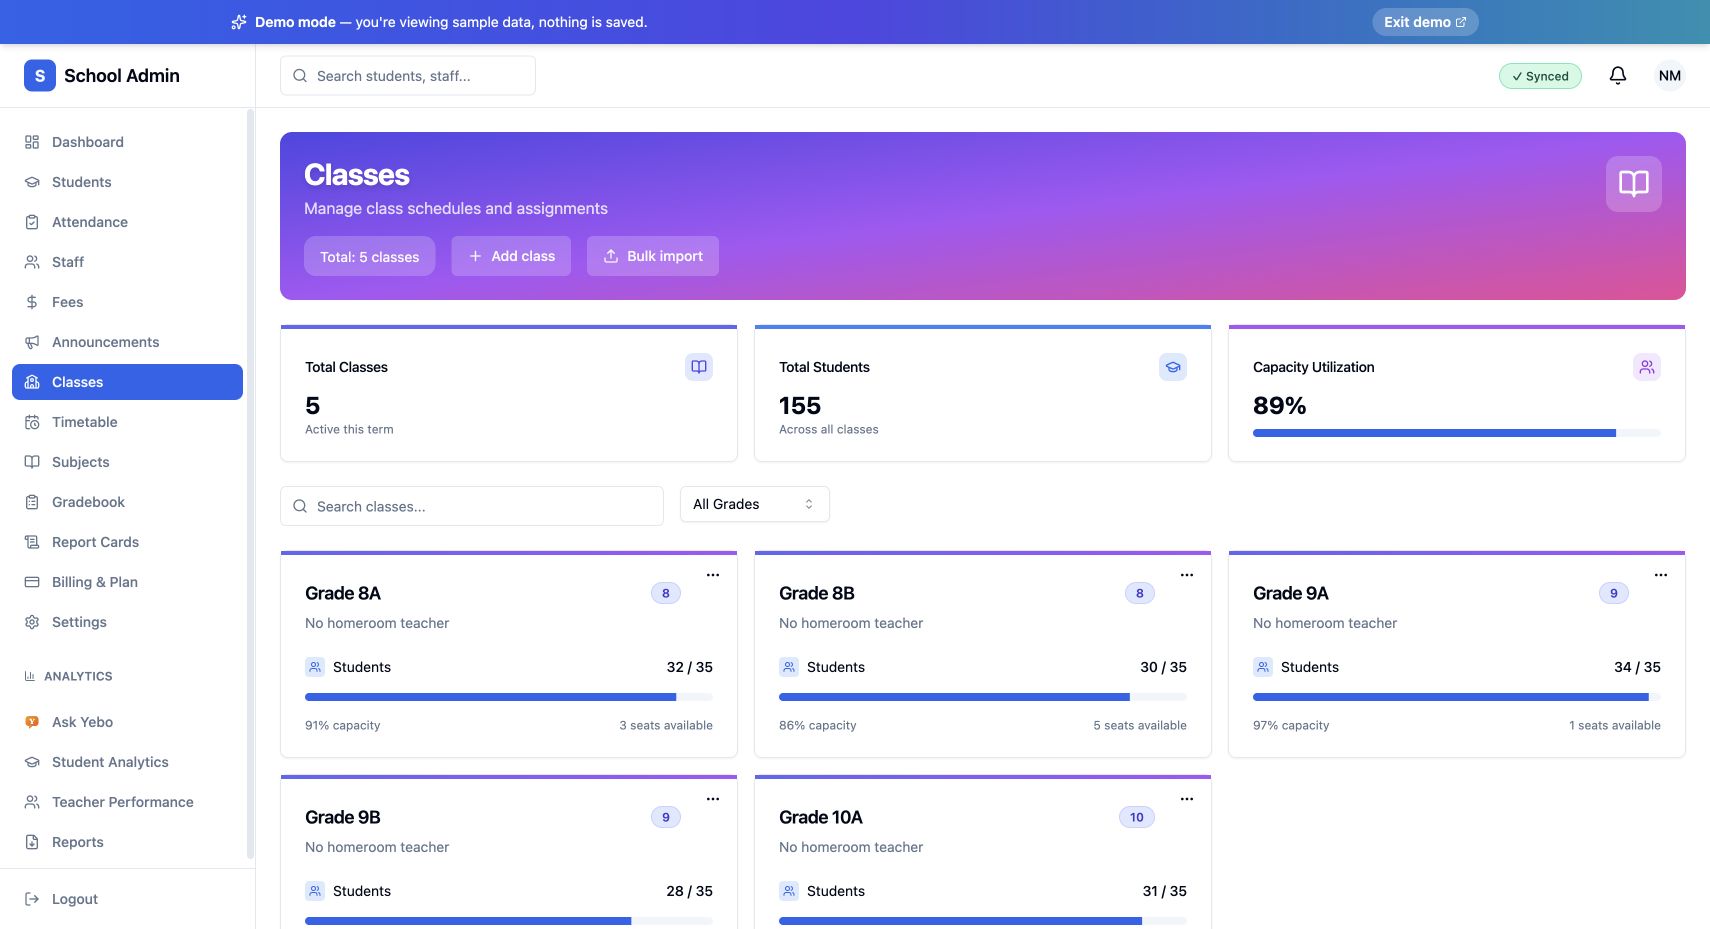
Actual YeboLearn interface, captured in the public demo on 24 October 2026. Names, marks and balances are sample data. Select the image to view full size.
Use Add class for one class or the documented Bulk import process for many. Open a class and check its grade, capacity and subject assignments. A class existing in the list does not by itself mean a teacher or student has been assigned to it.
Follow Subjects, Classes and Timetable for the detailed forms.
4. Add staff and assign teaching responsibility
Open Staff, add or invite the authorised colleague, and choose the correct role. Give teachers access to their actual classes and subjects. Keep school-admin access limited to people who need it.
An invitation sent is not the same as an activated account. Ask the colleague to complete activation, then confirm they can see the correct assignments. Never publish or share another person's temporary password in the documentation or a school announcement. The Staff guide covers roles and invitations.
5. Enrol students and link parents
Open Students, create or import the student records, and confirm the correct class. Link the right parent accounts to the right students. Recheck the class roster after import before attendance or mark entry starts.
Check before continuing: one teacher can see an assigned class, the roster contains the expected learners, and the parent account sees the intended child. Empty or missing records need an assignment/enrolment check, not repeated account creation. See Students.
6. Run the first reporting check
Ask a teacher to record the intended assessment in the correct year and term and confirm its sync status. Review Gradebook and Report Cards before release. Inspect a preview/PDF for the learner's name, term, marks, attendance and school branding.
Release only the cards your school has reviewed. Teacher mark entry, a generated PDF and release to families are separate steps. Follow Report Cards for the complete workflow and the handling of absent learners versus real zeros.
If you get stuck
| Symptom | Next action |
|---|---|
| Teacher sees no class | Check the staff member's class-subject assignment. |
| Class has no students | Check enrolment and class selection after import. |
| No terms configured | Save the academic year, term and date window first. |
| Report card misses marks | Match the assessment's year and term to the selected report. |
| Attendance differs from expectations | Check the term's start/end dates and recorded attendance days. |
| Families cannot see the report | Check release status and the student-parent links. |
| Sync or validation error | Resolve the displayed error and confirm the saved server state before continuing. |
Continue with Attendance, Gradebook, Reports and Fees.